There is a lot more about this aspect of the hobby than just splashing various colored paints on a miniature -- you will need more than just paint and brushes even this is core of it. Once you have decided to take the first step and have selected the miniature(s) you want to start with, you need to prep the miniature. Whether it is plastic/resin or metal, they will need to be cleaned. A small brush (toothbrush or nailbrush) a bit of dish soap and some warm running water is all that is needed clean the model where as a precision knife will help you cut away any 'flash' still on the model (flash is remnants of metal or plastic along the mold lines of the model). Furthermore, in the event that the model is still on a plastic sprue, a simple set of cuts (with one side flat) will make your life so much easier. You may also find a set of files (suitable for miniatures / models / jewelry) will also help clean the area around the mold lines. In the event that the model needs assembling, glue suitable to the task will be needed. There are plenty of types available and nowhere near as expensive as some hobby suppliers will charge. Of course, you can always go for a tried and tested brand such as 'Testors' which I use myself as have been satisfied with when working with plastic models. For other applications which include metal bits needing some glue, I will go with a thicker superglue. Larger pieces may need a bit of help but we'll get to those in Part 2.
Oh, and with some of that cutting, a cutting board / mat may be a good investment. ;)
With all of that done, we can start looking at the next phase -- the undercoat. Prior to actually painting the model, you will want to add a layer of primer. Typically, these will be black, grey, or white and, for convenience, in a spraycan. It is easy to apply though you don't want to excessively coat the model in this paint as this could result in a loss of detail on the model itself. The problem is you will need to do this is a open / well ventilated area and typically this mean outdoors. Some latex gloves are recommended if you decide to hold the miniature in you hand but frankly, I wouldn't recommend that. Get a good stick and affix the miniature at the end of the stick and then have at it! I prefer to prep my miniatures in black prior to painting but an interesting trick I picked up was to gently 'dust' my model with a touch of white afterwards. This has the added benefit of having certain smaller details stand out a bit better. That said, I hate having to use the spray cans and there isn't any good alternative for a primer in a bottle. Citadel has their 'Imperial Primer' but I have had very mixed results and generally think that it is crap and only useful for touch-ups if an area was missed when spraying from a can. Even the cans can be pricey depending where you are buying from -- Games Workshop have 'Chaos Black' or 'Skull White' reach run for almost $16 a piece (and even higher in Canada). For a couple bucks less, it might be worth checking out the Army Painter line of color primers. They have black and white which go for $11 each as well as a range of various colors to serve as a primer and color combined in one which is an easy way to get a base color coat done.
At this point, some readers may ask why bother with an undercoat to begin with? Simple -- the undercoat creates a surface that other paints will bond to a lot better to the model. In my personal quest to ditch the spray cans, I have also begun to experiment with acrylic gesso -- an alternative which has a lot of potential (read more about it HERE).
Once the undercoat has been applied and is dried, you are essentially ready to paint. A good quality paint will go a long way to a great finished product and everyone has their favorites. I use the current line of citadel paints and, they are many and expensive compared to other lines. In part, my fondness is the great experiences I had working with them when I started. If I were to start over again, I would certainly have a strong predisposition to consider the line because of the variety of shades and colors involved. That said, if you don't mind mixing your colors yourself, there is no reason why a line with far fewer choices couldn't do the job. A vial of citadel paint retails for $3.70 (12 ml) but Army Painters is worth mentioning once more as their vials retail for less ($2.99 a vial). Reaper also has a nice line of paints priced between Army Painter and Citadel but offer more paint per bottle. It really comes down to preference.
As for brushes... my advice is to shop around a bit. Forget the hobby shop -- go to the art supply store. If you are working with 28 - 30mm scale and you are working on a lot of individual character models, you'll want something where you can do some decent detail work. You can get a brush of a much better quality than a 5-7$ brush at you hobby shop. Of course, you can spend a lot more money on a specific brushes at the art store depending on what you're looking for. For the most part, you want a brush no bigger that size 2 and, depending on what you do, you will want to go much smaller than that for very fine detail. I like sable brushes and found a decent enough selection when I look at the brushes for watercolor -- the smallest I use is a 10/0. I bought quite a few brushes when I first started, and I currently use 4 routinely though I have a couple others for drybrush work.
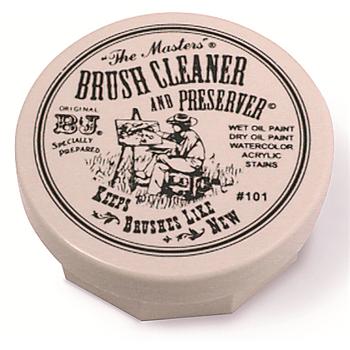
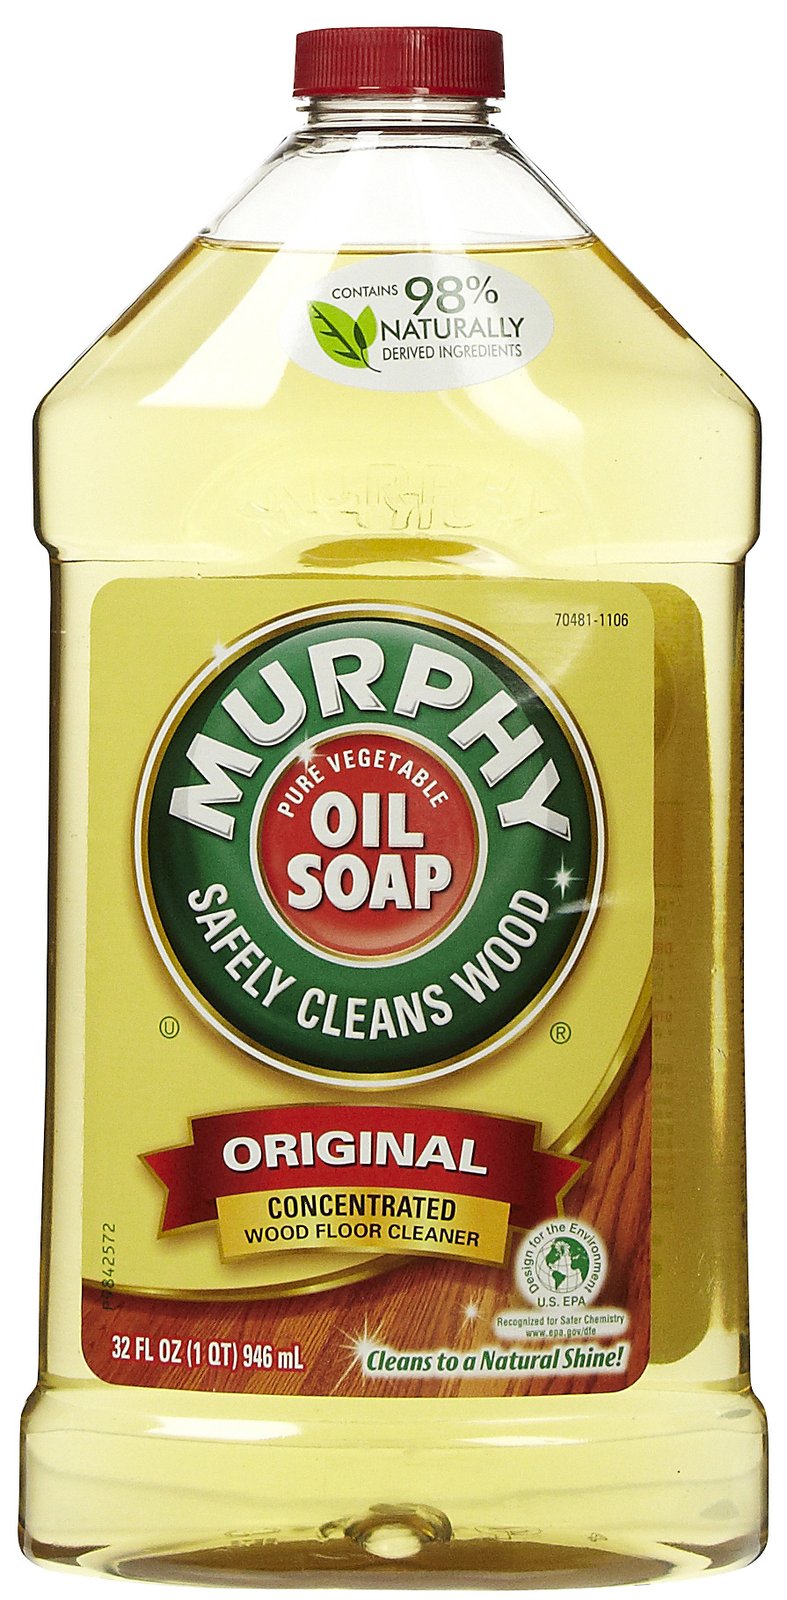
 Recently, I bought a set of inexpensive sable brushes for a friend (a set of four) and they cost me $16.00 during the holidays. I bought the brushes for my friend when I saw the state of his usual brushes. They were terrible and this brings me to the next point: proper cleaning of brushes. Shortly after I started, I began using "The Masters" Brush Cleaner & Preserver" which will end up saving me money on more brushes. I am amazed at how well this stuff will clean and restore the bristles of a paint brush. Another inexpensive option is Murphy Oil Soap which is gentle on the bristles. My friend's old brushes would have fared much better if he routinely cleaned his brushes with either of these products.
 Finally... when the last of the paint on your miniature is dry, you'll want to protect the model with some sort of sealant like a varnish. You can get this stuff in a spray can and you can get this stuff in a bottle. Either will do the trick but the thing you'll want to consider is if you prefer a matte finish or a glossy finish or just something in between. You'll also want to be careful if using a spraycan ... temperature and humidity can affect the application of the varnish in this matter (especially if the temperature is too cold). In either case, like the primer, you don't want to have it applied too thick.
These are the basics of what you'll need and what they are used for. How mush does something like this cost to get started? Certain hobby suppliers have start kits to get you into the hobby... Citadel for instance has one for less than $60 which comes with 8 paints and a black primer, cutters, thin and thick glues, a starter brush, and a couple other things for the bases of miniatures. Army Painters on the other hand doesn't exactly have a small starter... they have a set with cutters, glue, and hobby knife for plastic miniatures and another with a file instead of the hobby knife for metal models. These are $12 and they have a 3 brush starter for another $12. However these don't have paint but, to their credit, they have a much larger kit for $99 which includes pretty much everything you may want and a bunch of other stuff I'm covering in Part 2.
The truth of the matter is, if one starts adding up everything, $50 to $100 can easily be spent to get started and this is not counting the miniatures you'll be painting. A discerning consumer will be able to get away with spending closer to the $50 end of the spectrum as long as they don't immediately buy everything they need from the hobby shop ... check out the art supply stores or even the dollar store. Some of the best contact super glue I use and buy when it's available I happen to find at the dollar store. Decent paints is what will really bring your initial expenses up though so it might be best to be mindful of what you are painting in the beginning.
Part II will expand our selection of tools.
M


No comments:
Post a Comment